Almost everyone who's into freshwater eventually hears "you should run a sump" — more water volume, more filtration, and all your ugly gear (heater, pump, media) hidden in a second tank under the stand. Then they look up how to build one and quit, because every guide starts with drilling the bottom of your display or siliconing glass baffles into a box. That's the friction. It's also unnecessary.
For a freshwater tank you can build a sump that works just as well with zero drilling and zero baffles. This is the simple version we'd set up ourselves — and every part on the list is something you can pick up from us in Erie.
The no-drill part: how water gets to the sump
The scary step is moving water out of your display tank and down to the sump. You don't drill it. You hang an overflow box on the back rim — it siphons water over the edge and down a hose to the sump, all on its own once it's primed. A return pump in the sump pushes the same water back up. Round and round.
That's the entire trick. The overflow handles the "out," the return pump handles the "back," and your tank never gets a hole in it.
Our pick
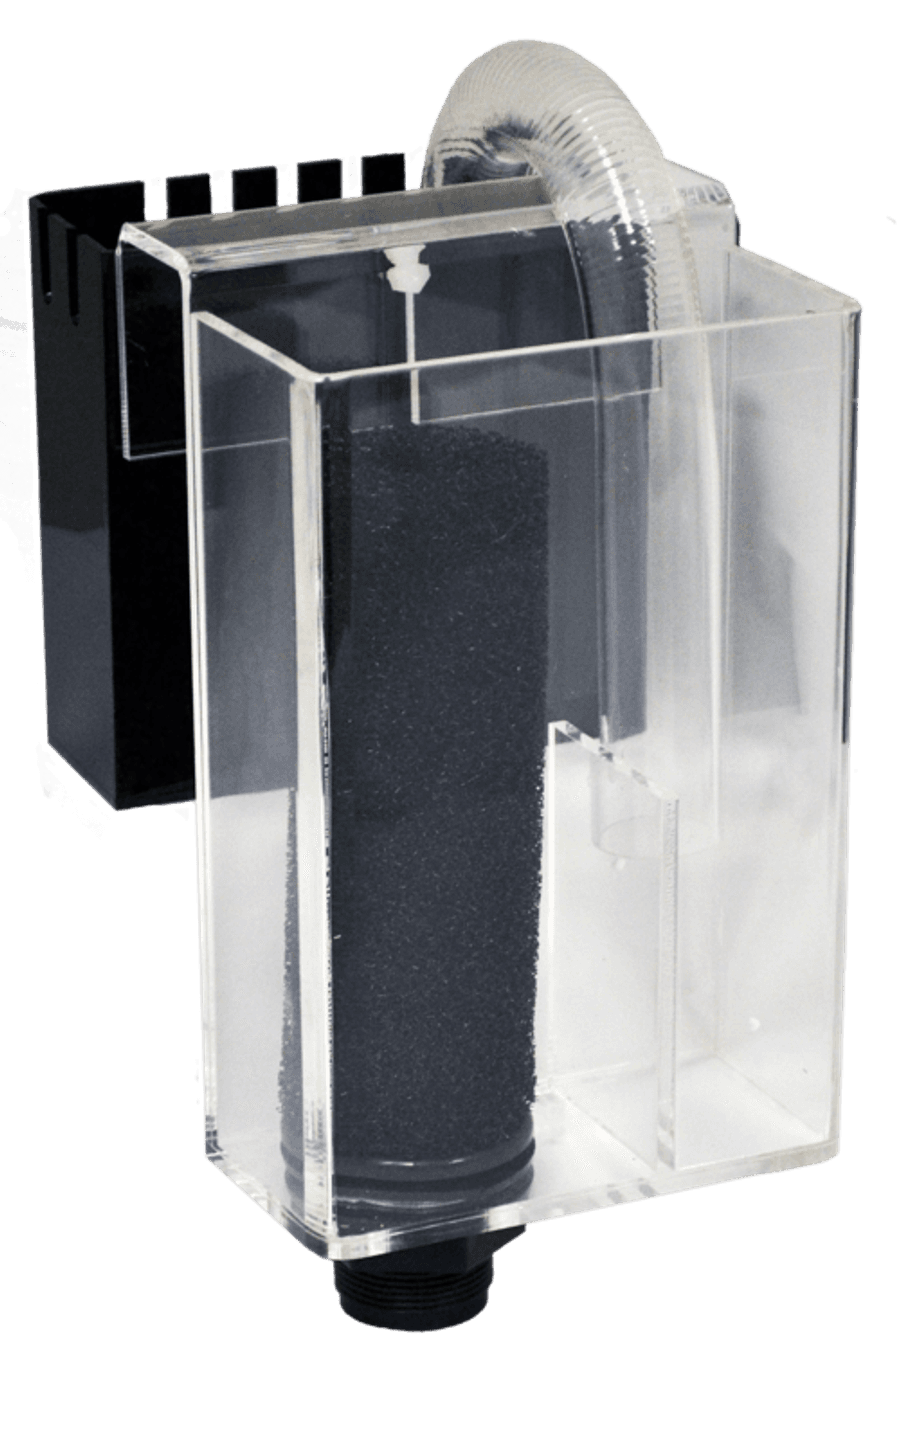
Aquarium Masters Overflow System 300 (75 gal)
Hang-on-back overflow box — moves water from display to sump without drilling
Clips on the back rim and siphons water over the edge on its own once primed. No holes, no glass cutting — this is what makes the whole no-drill build possible.
See it in the shop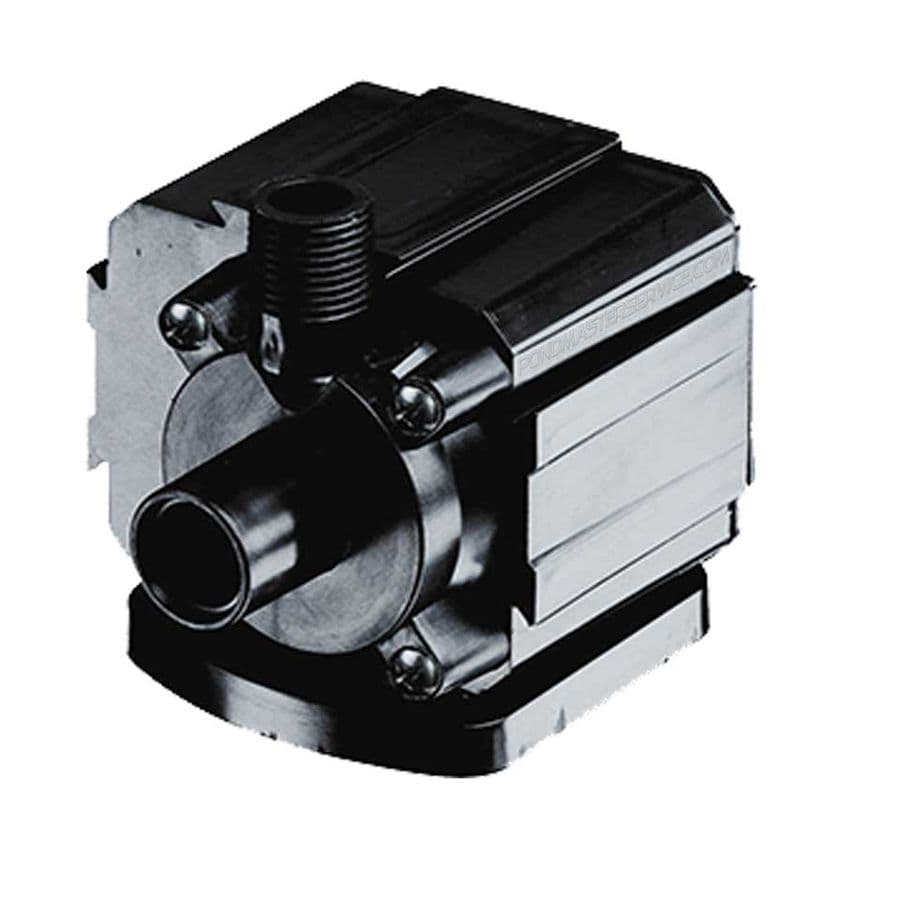
Our pick
Pondmaster Pond-Mag Model 5 Pump 500 GPH
Return pump — pushes filtered sump water back up to the display
Sits submerged in the sump and completes the loop. Throttle the flow down with its valve so it matches what the overflow can handle; running it maxed out on a small tank will drain your display.
See it in the shopYou don't need baffles — one chamber is fine
Reef sumps have those glass dividers (baffles) mostly to separate the stages — they wall off the filter sock, the media, and the return pump into their own chambers so the water passes through each in order. On a simple freshwater build you don't need that separation engineered in glass: you can lay the same stages out left-to-right in one open box and the water still flows through them in the same order. So you can skip the baffles entirely.
What you're left with is a single open box: water drops in on one side, runs through your media, and the return pump sits at the other end. No cutting, no silicone, no cure time. A spare 10 or 20-gallon tank is perfect — you may already have one in the basement. If you'd rather start with something purpose-made, we keep an acrylic sump/refugium in the shop that already has the filter sock spot and flex hoses built in — a ready-made base instead of a bare tank. Either one works; everything below is the same once it's plumbed.

Mechanical first: the filter sock
The water coming down from the overflow drops straight into a filter sock — a fine mesh bag that catches all the floating gunk (fish waste, uneaten food, plant bits) before it goes anywhere else. A sock holder clips onto the side of the sump and holds the bag open right under the incoming water.
One sock is plenty. People ask about running a double sock for "extra" filtration, but the second one mostly just clogs and doubles how often you're rinsing bags. Skip it. The real filtration happens in the next step.
Our pick
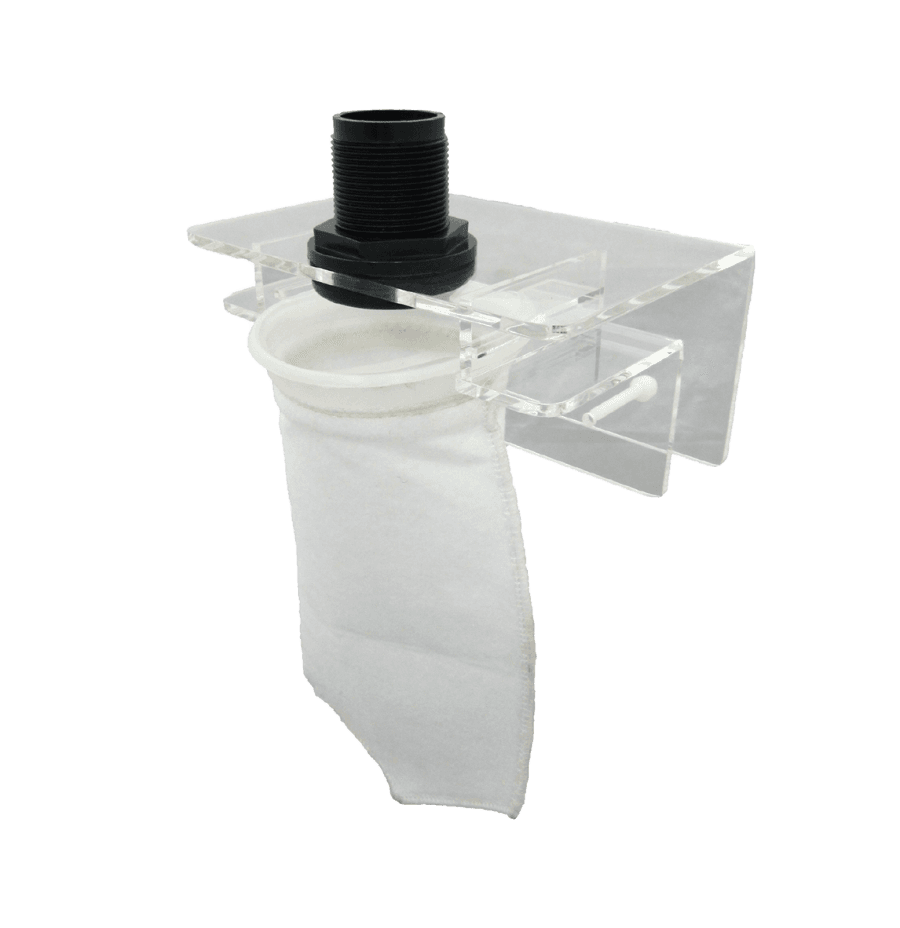
Aquarium Masters Micron Sock Holder (Small)
Sock holder — clips to the sump wall and holds the filter bag open
Keeps the sock positioned right under the incoming water so nothing bypasses it. Without a holder the sock flops and water runs around the sides.
See it in the shop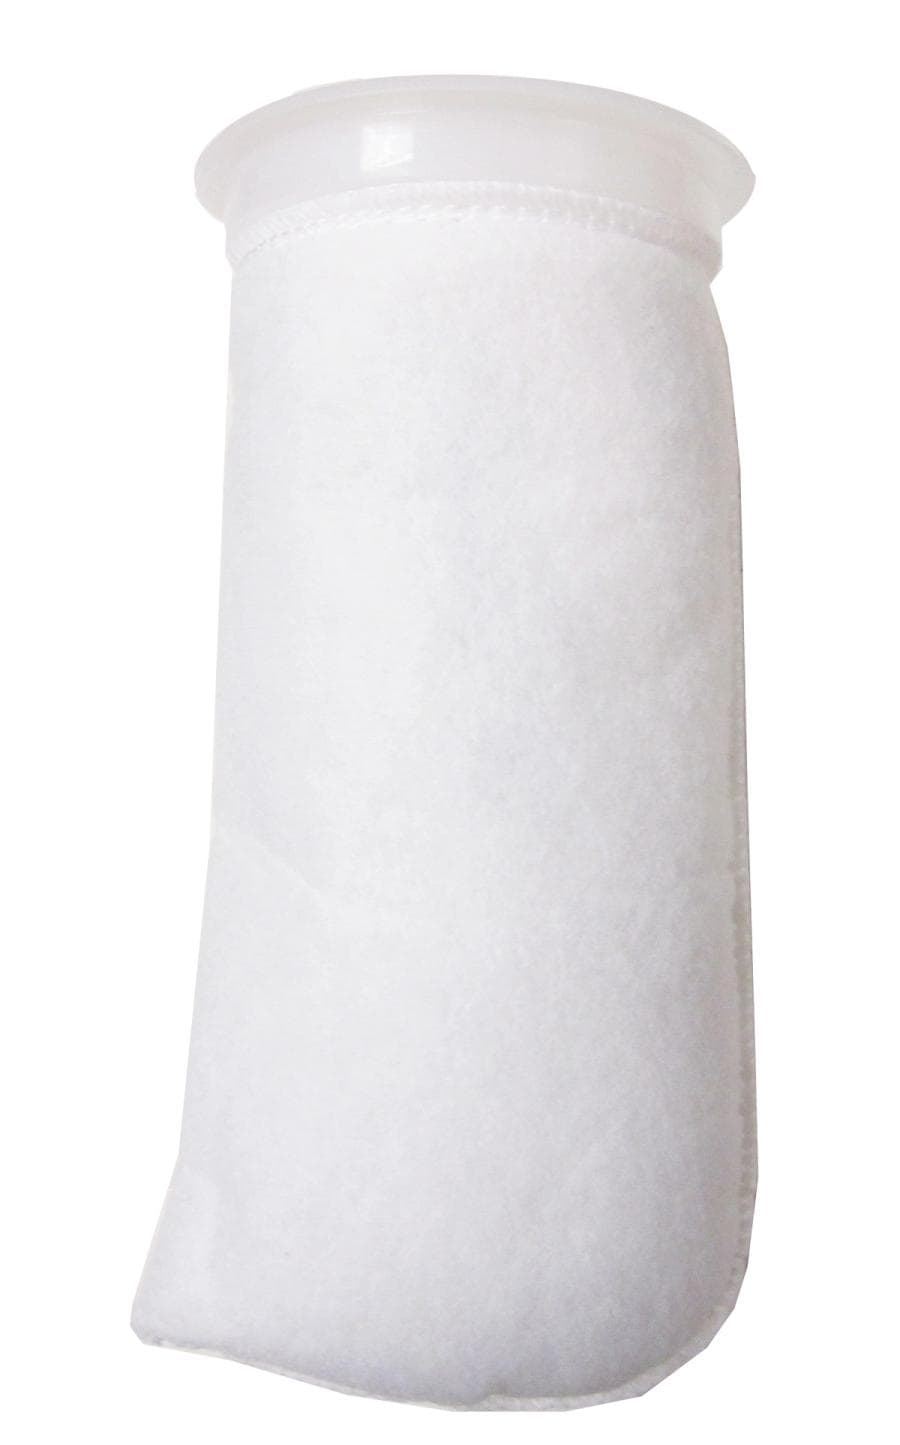
Our pick
Filtration Sock 4" 200 Micron 16" Length
200-micron filter sock — first stop for waste and debris
Catches fish waste, uneaten food and plant bits before they break down in your sump. One sock is enough — rinse it weekly and you're done.
See it in the shopThe engine: pack it with bio media
After the sock, the water flows through biological media — porous pellets or rings riddled with microscopic pores. All that internal surface area is the real estate for the beneficial bacteria that convert toxic ammonia and nitrite into safer nitrate, and it's the part that makes a sump worth building. More surface area means more bacteria, which means more fish and heavier feeding the tank can handle before ammonia starts to creep.
Here's how the loose media actually works in the sump, because this is the part that trips people up. You don't dump the pellets in loose, where they scatter, pack down, and get sucked toward the pump. You fill a zip-top mesh media bag and rest it in the flow path between the sock and the return pump, so all the water has to trickle through it. Bagging it is the whole trick: the bacteria still get every drop of water, and you can lift the entire bag out to rinse it in old tank water — never tap, which kills the colony — without tearing the sump apart.
And about the amount: a single 300g bag (about half a liter) is a starting point sized to the small 10-to-29-gallon tanks this build targets, not a 'fill the whole chamber' number. One bagful is plenty for a nano-to-mid setup. As you add fish or move to a bigger display, add a second bag — you scale the media to the bioload, not all at once up front. And unlike floss and carbon, bio media is never thrown out or deep-cleaned: once it's colonized it's the living engine of the tank, so you only ever rinse it gently.
This same bag-in-the-flow setup is where chemical media goes later too — carbon, a phosphate remover — by just dropping another bag in beside it. No new equipment.
Our pick
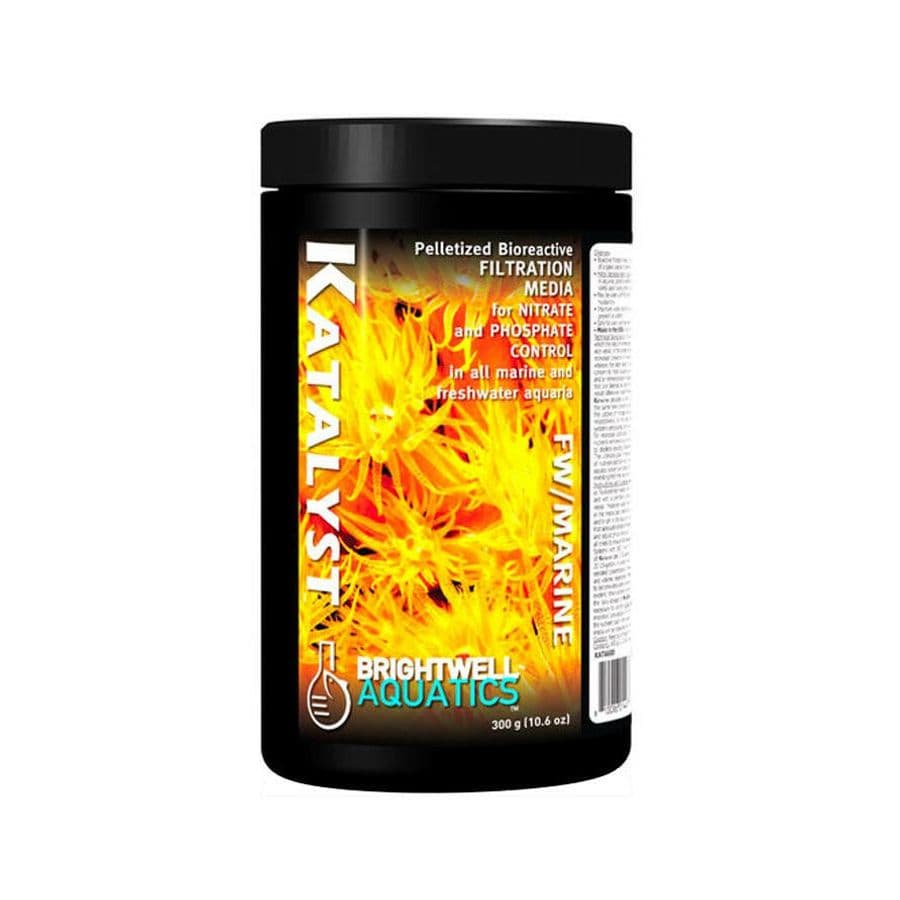
Brightwell Katalyst Filtration Media (10.6 oz)
Biological media — pelletized surface area for your ammonia-eating bacteria
The bacteria that colonize these pellets are what keep your fish alive, converting ammonia and nitrite. One 300g bag is the right starting amount for a small 10-to-29-gallon sump; add a second as you add fish. Bag it, rinse it only in old tank water, and never throw it out.
See it in the shop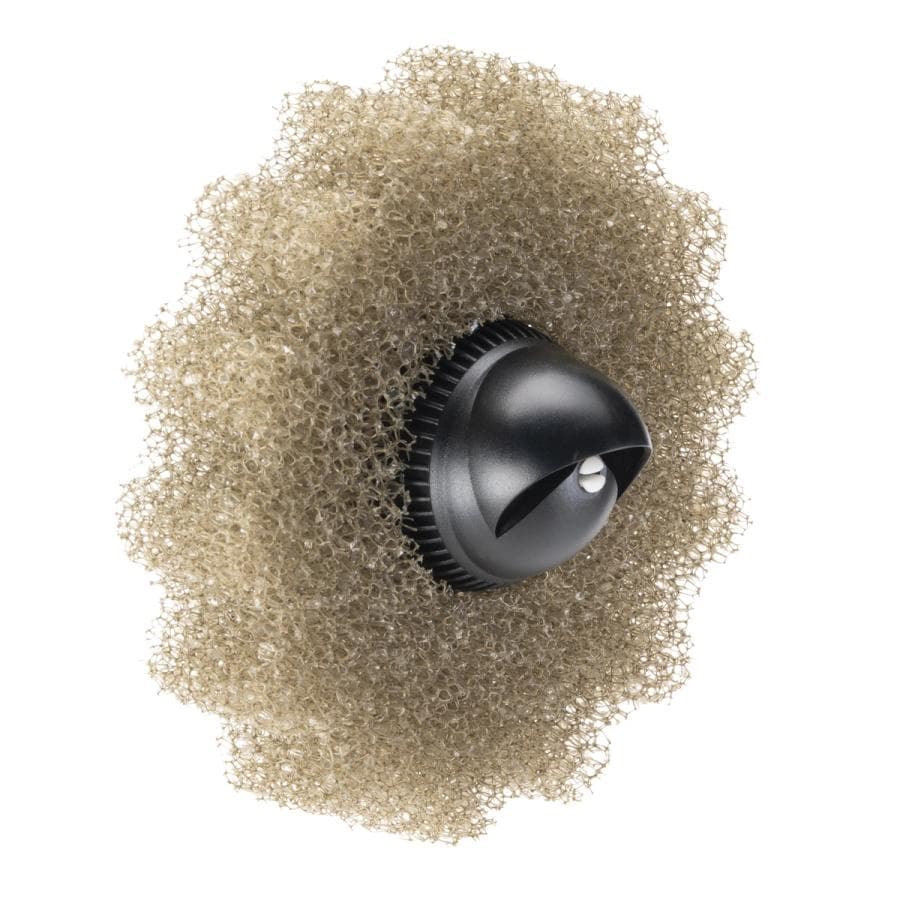
Our pick
Hydor Bioflo Aerobic Filter Small
Budget bio-media block — same biological job for less, rated to ~30 gallons
A cheaper way to fill the biological stage on a small sump. Sized for tanks up to about 30 gallons, so it suits this 10-to-29-gallon build well if you'd rather not spend on pelletized media.
See it in the shop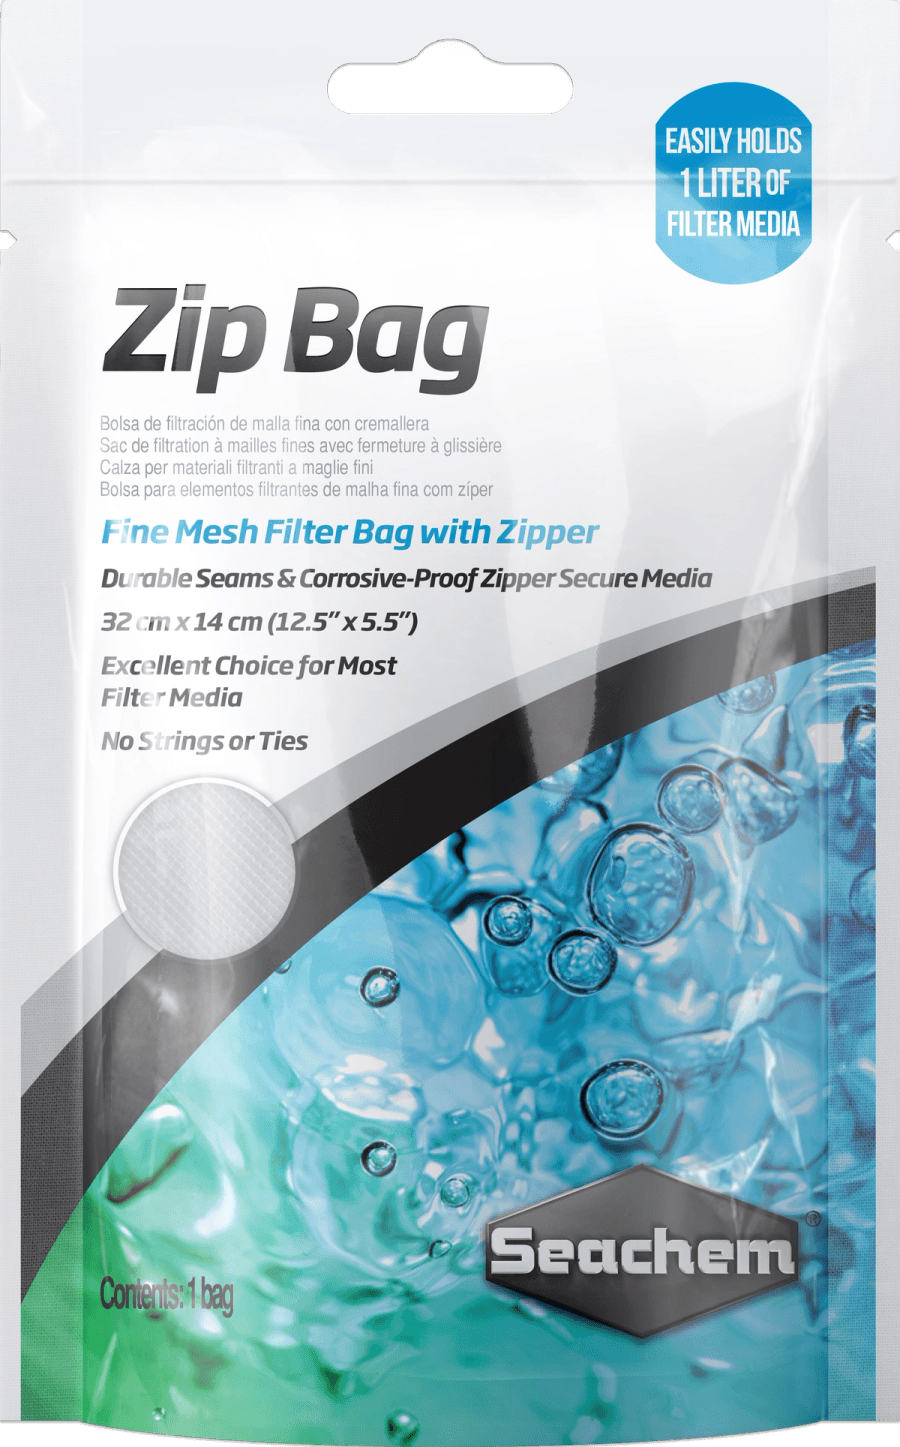
Our pick
Seachem Zip Bag Medium-Mesh Filter Bag
Mesh media bag with zipper — holds the loose media in the flow so you can lift it out
This is what makes loose media work in a sump: drop your bio media (or carbon, or Purigen) in, rest it in the flow path, and pull the whole bag out to rinse without disturbing the rest of the sump.
See it in the shopFloss and carbon: the media most people run
Three jobs, three kinds of media — and you don't need all of them on day one.
Mechanical is what catches the dirt, and you've got two ways to do the fine polish on top of the sock. Loose poly filter floss is the cheapest — pile a handful on and toss-and-replace it when it browns. Or use a bonded filter pad: a firmer blue-and-white sheet you cut to fit your sump, lay flat in the flow, and rinse a few times before it needs replacing. The pad holds its shape and lasts longer; the floss is cheaper and finer. Either one polishes out the haze the sock lets through — pick whichever you'll actually keep up with, and we stock both off the wall by the foot or the sheet.
Biological is the bio media you packed in the last step. That's the part that actually keeps fish alive by growing the bacteria that eat ammonia — never deep-clean it.
Chemical is optional, and most people keep a little around. A bag of activated carbon pulls tannins, odors and that yellow tint — swap it monthly. If you want water you can read a magazine through, Purigen is a polishing resin you rinse and recharge, so one bag lasts a long time. Run chemical media in a media bag, downstream of the floss.
Our pick
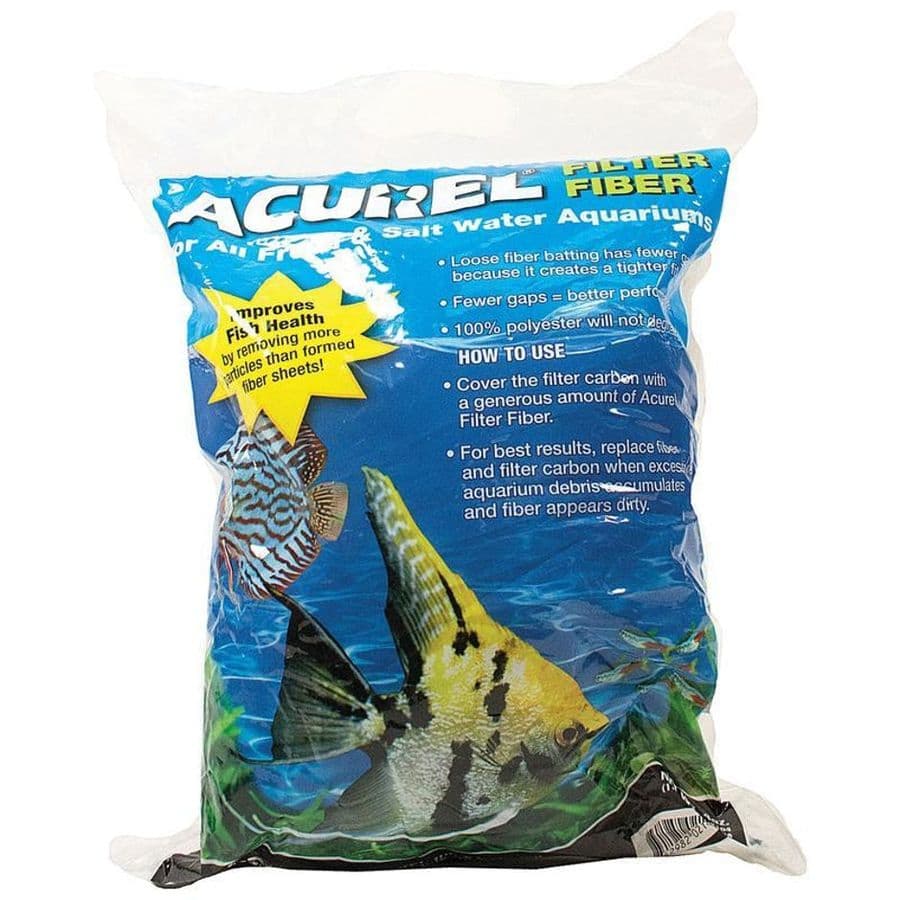
Acurel Filter Fiber Polyester Floss
Poly filter floss — the cheapest fine mechanical stage
A handful laid on top of the sock pulls out the fine haze and micro-particles the sock lets through. Cheap enough to toss and replace rather than scrub — swap it when it turns brown.
See it in the shop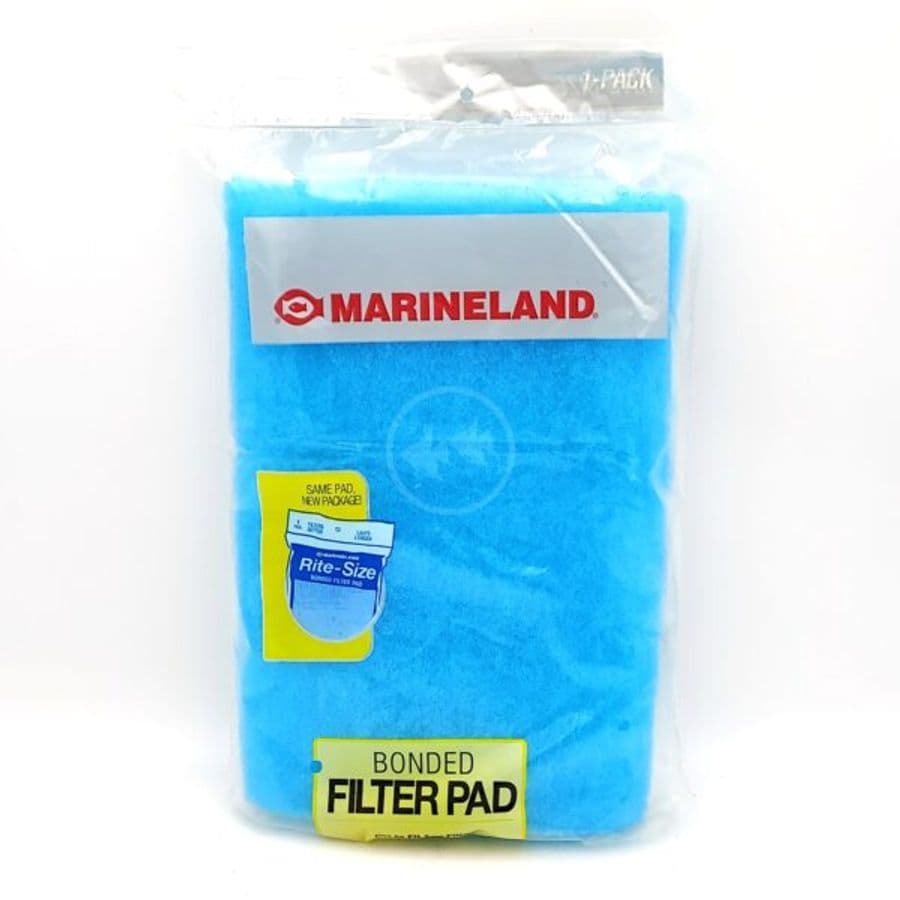
Our pick
Marineland Rite-Size Bonded Filter Pad
Bonded filter pad — the cut-to-fit alternative to loose floss
A firmer blue-and-white pad you cut to your sump's width and lay flat in the flow. Holds its shape better than loose floss and rinses a few times before it needs replacing. Some people just prefer a pad to a pile of fluff.
See it in the shop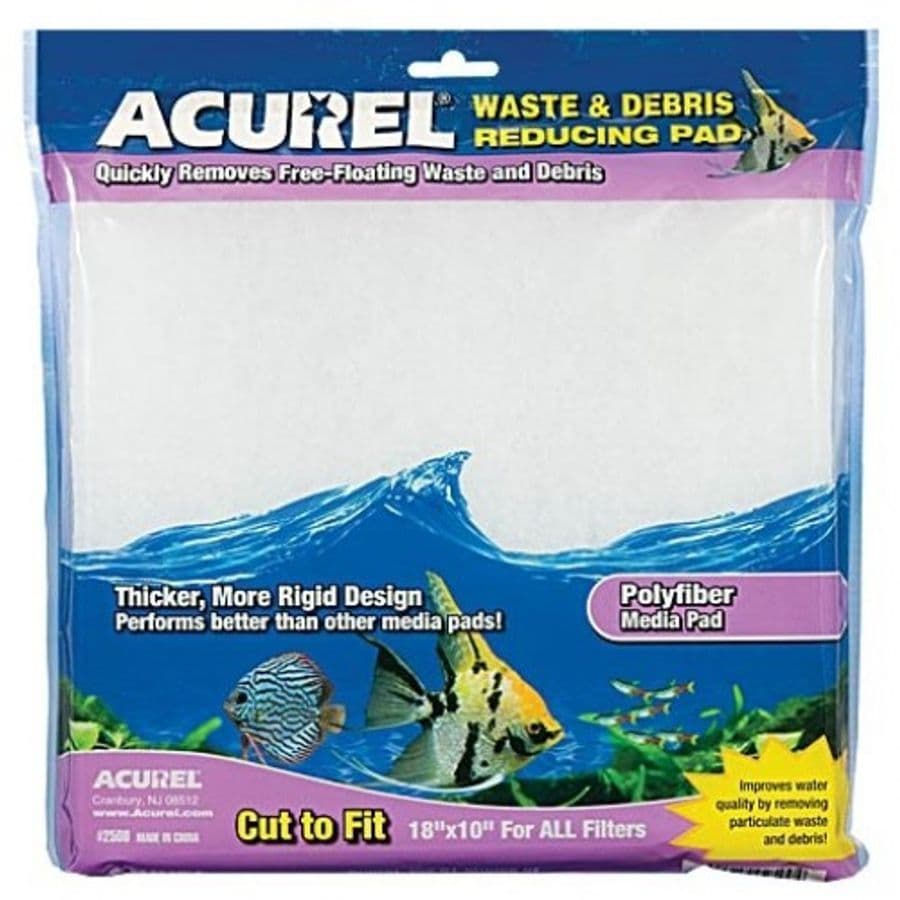
Our pick
Acurel Waste Reducing Polyfiber Pad 18"x10"
Cut-to-fit polyfiber pad — trim it to any sump, canister, or HOB
An 18x10 sheet you cut down to fit the sump or a filter tray. Same fine-mechanical job as floss in a cleaner, cut-to-size form that won't pack down.
See it in the shop
Our pick
Marineland Black Diamond Activated Carbon
Activated carbon — removes tannins, odors and yellowing
Optional but most people keep some on hand. Run it in a media bag downstream of the floss and swap it monthly. Makes a real difference if your water has any tint or smell.
See it in the shop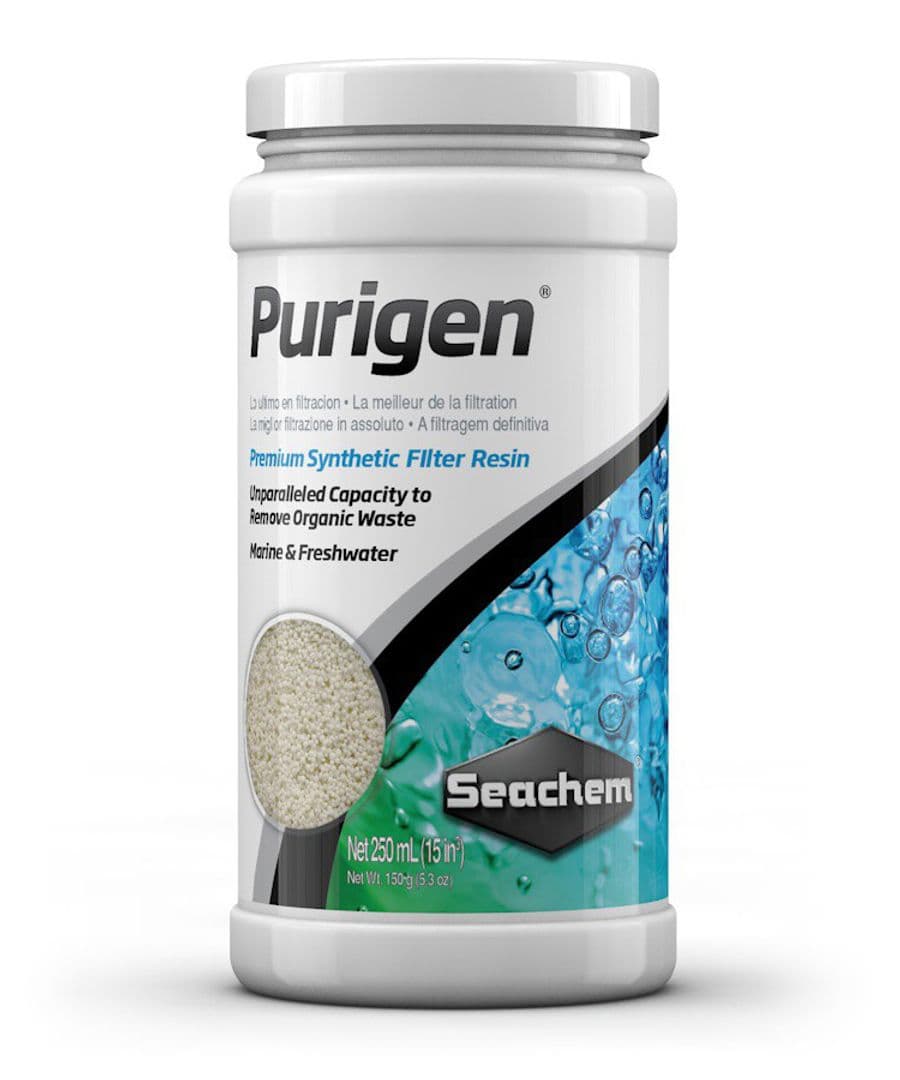
Our pick
Seachem Purigen Synthetic Filter Media (250 mL)
Purigen — premium polishing resin for glass-clear water
Pulls dissolved organics that carbon misses. The advantage over carbon is that you recharge it with bleach and reuse it, so one bag lasts a long time. Worth it if you want truly clear water.
See it in the shopMake it flood-your-house safe
This is the part people skip and regret. A sump moves a lot of water, and the big risk is back-siphoning: when the return pump shuts off, the display keeps draining down into the sump and overflows onto the floor. Two simple habits prevent it — and neither needs any extra gear.
First, drill one tiny anti-siphon hole in the return pipe just below the waterline — when the pump shuts off, that hole breaks the siphon so your display can't keep draining down into the sump. Second, never fill the sump to the top: leave enough empty space that if the pump stops, all the water that back-siphons down still fits without overflowing. Test it once with the pump off before you trust it overnight. Top the sump off as it evaporates, too, so the return pump always has water to move.
Do these things and a sump is living-room safe. Skip them and it's a story you tell about your carpet.
Common questions
- Do I have to drill my tank to add a sump?
No. A hang-on-back overflow box siphons water over the rim and down to the sump with no holes drilled. Drilling is only required for built-in overflows on reef-ready tanks — for a standard freshwater tank, the overflow box does the same job.
- Do freshwater sumps need baffles?
No. Baffles mainly just wall off the different stages — sock, media, return pump — into separate chambers. For freshwater you can lay those same stages out in one open chamber — sock, then media, then return pump — and it works fine. That's what lets you build one without cutting or siliconing glass.
- What size return pump do I need for a 20-gallon sump?
Aim for roughly 3–5× your display volume per hour at the pump's actual head height, then throttle it down with a valve so the overflow can keep up. It's better to run a slightly larger pump turned down than a small one maxed out. Bring your numbers in and we'll match it.
- How do I stop a sump from flooding my house?
Two things, and neither needs extra gear: a small anti-siphon hole drilled in the return pipe just below the waterline so the display can't keep draining when the pump stops, and never filling the sump to the brim so it can hold the back-siphoned water. Test it once with the pump off before you leave it running overnight.
- Can I use a plastic tote instead of a glass tank?
You can, as long as it's food-grade and rigid enough not to bow when full. A glass tank is cheap, won't flex, and is easier to see your water level through — so we usually recommend a spare 10 or 20-gallon over a tote.