If you do one thing for your aquarium, do regular water changes. No filter, no gadget, and no bottle of additive removes nitrate and dissolved waste the way a simple water change does. It is the closest thing the hobby has to a reset button. The good news is that it is quick, it is cheap, and once you have a routine it takes about fifteen minutes. Here is how to do it right, how much and how often, and where freshwater and saltwater tanks differ.
Why water changes matter more than anything else
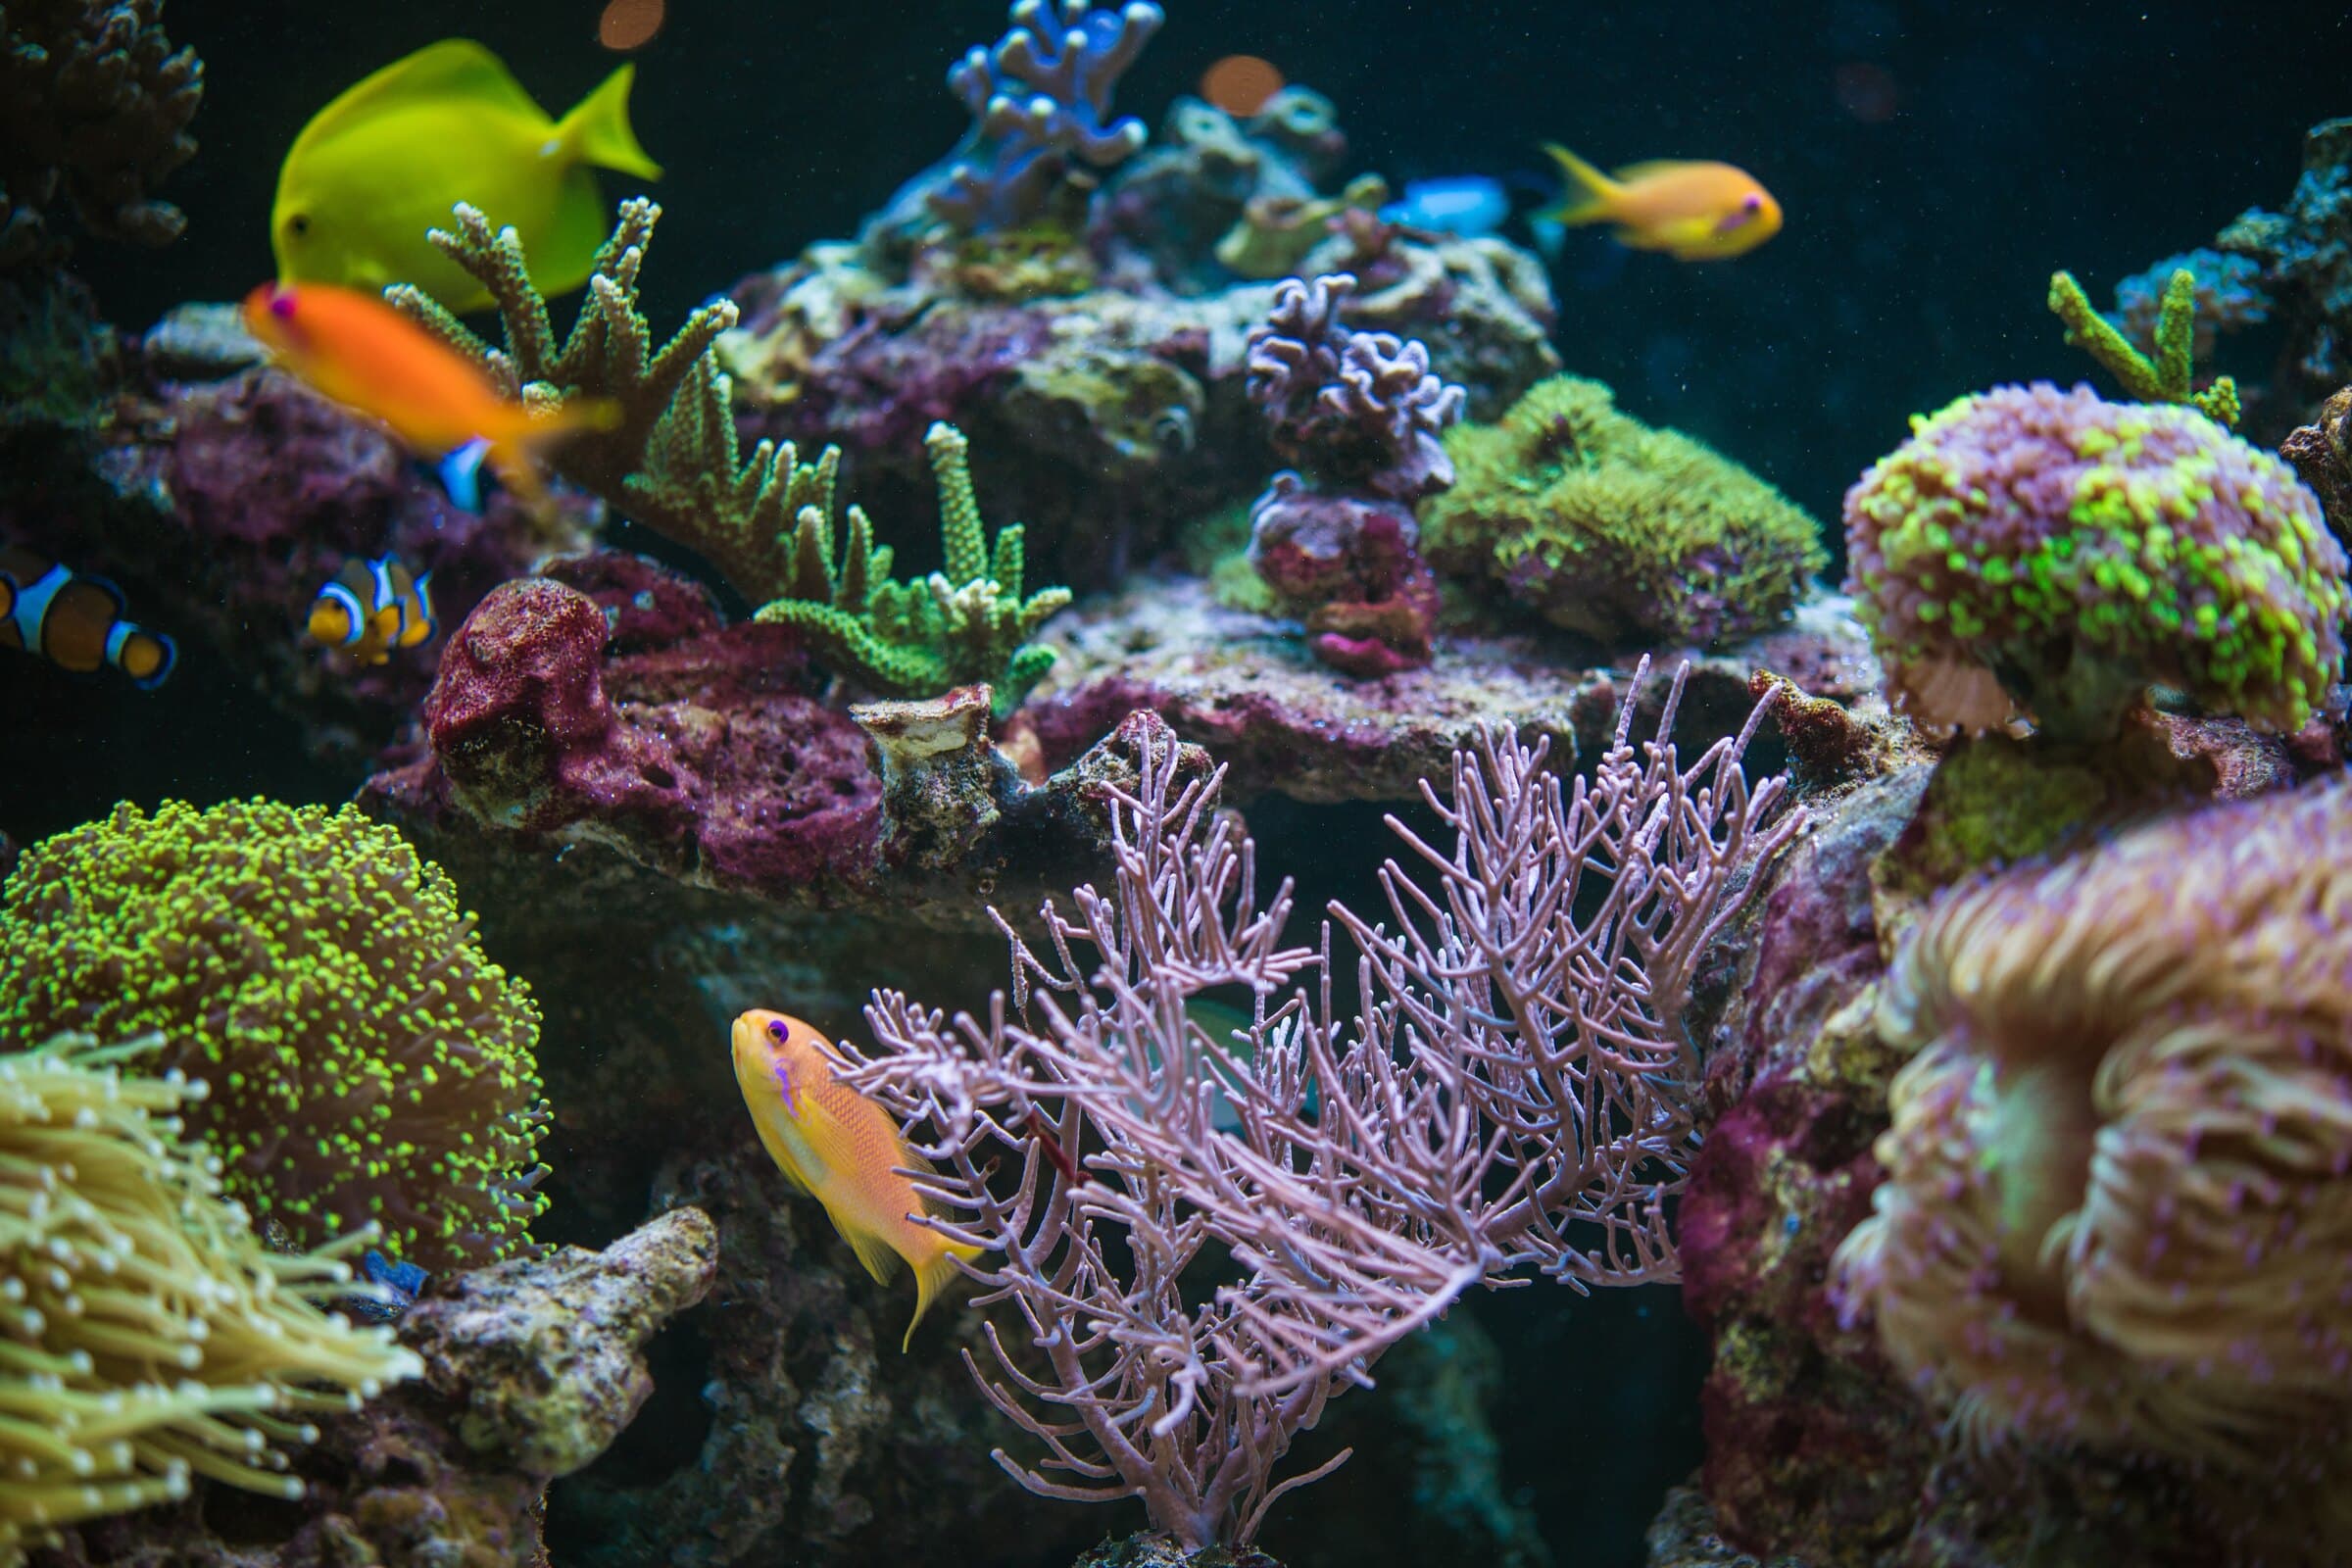
Your filter does two jobs brilliantly and one job not at all. It grows the bacteria that turn toxic ammonia into nitrite and then into nitrate. That is the nitrogen cycle, and it is why a cycled tank keeps fish alive. But that last product, nitrate, just keeps building up. Nothing in a normal filter removes it. Left alone it climbs, stresses fish, feeds algae, and drags down the trace minerals and stable chemistry your fish and corals depend on.
A water change resets all of that at once. You pour out a slug of nitrate-loaded water and pour in fresh, mineral-rich water in its place. That is the whole idea, and everything else in tank maintenance is secondary to this one habit. If you are still getting your tank established, our guide on cycling a new tank explains where that nitrate comes from in the first place.
How often, and how much
The rule of thumb that works for the vast majority of tanks is about a quarter of the tank volume, once a week. That is frequent enough to keep nitrate from ever building up, and small enough that it never shocks the tank. You do not need to do more, and doing it less is the most common reason a tank slowly goes downhill.
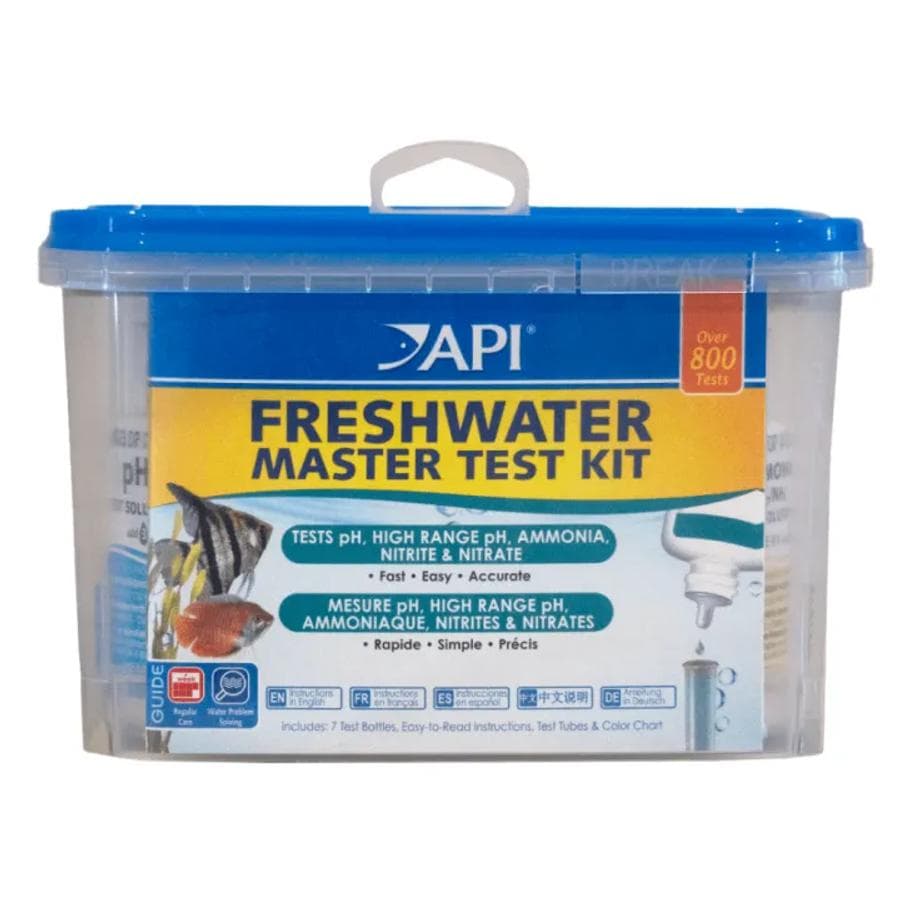
The honest answer, though, is that your nitrate reading sets the schedule. A lightly-stocked planted tank might coast on a change every two weeks; a tank full of big, messy fish might want a third of its water weekly. You find out by testing nitrate before a change. If the number sits low and steady week to week, your routine is keeping pace. If it climbs, change more water or change it more often. Test, write it down, and let the number lead.
The freshwater routine, step by step
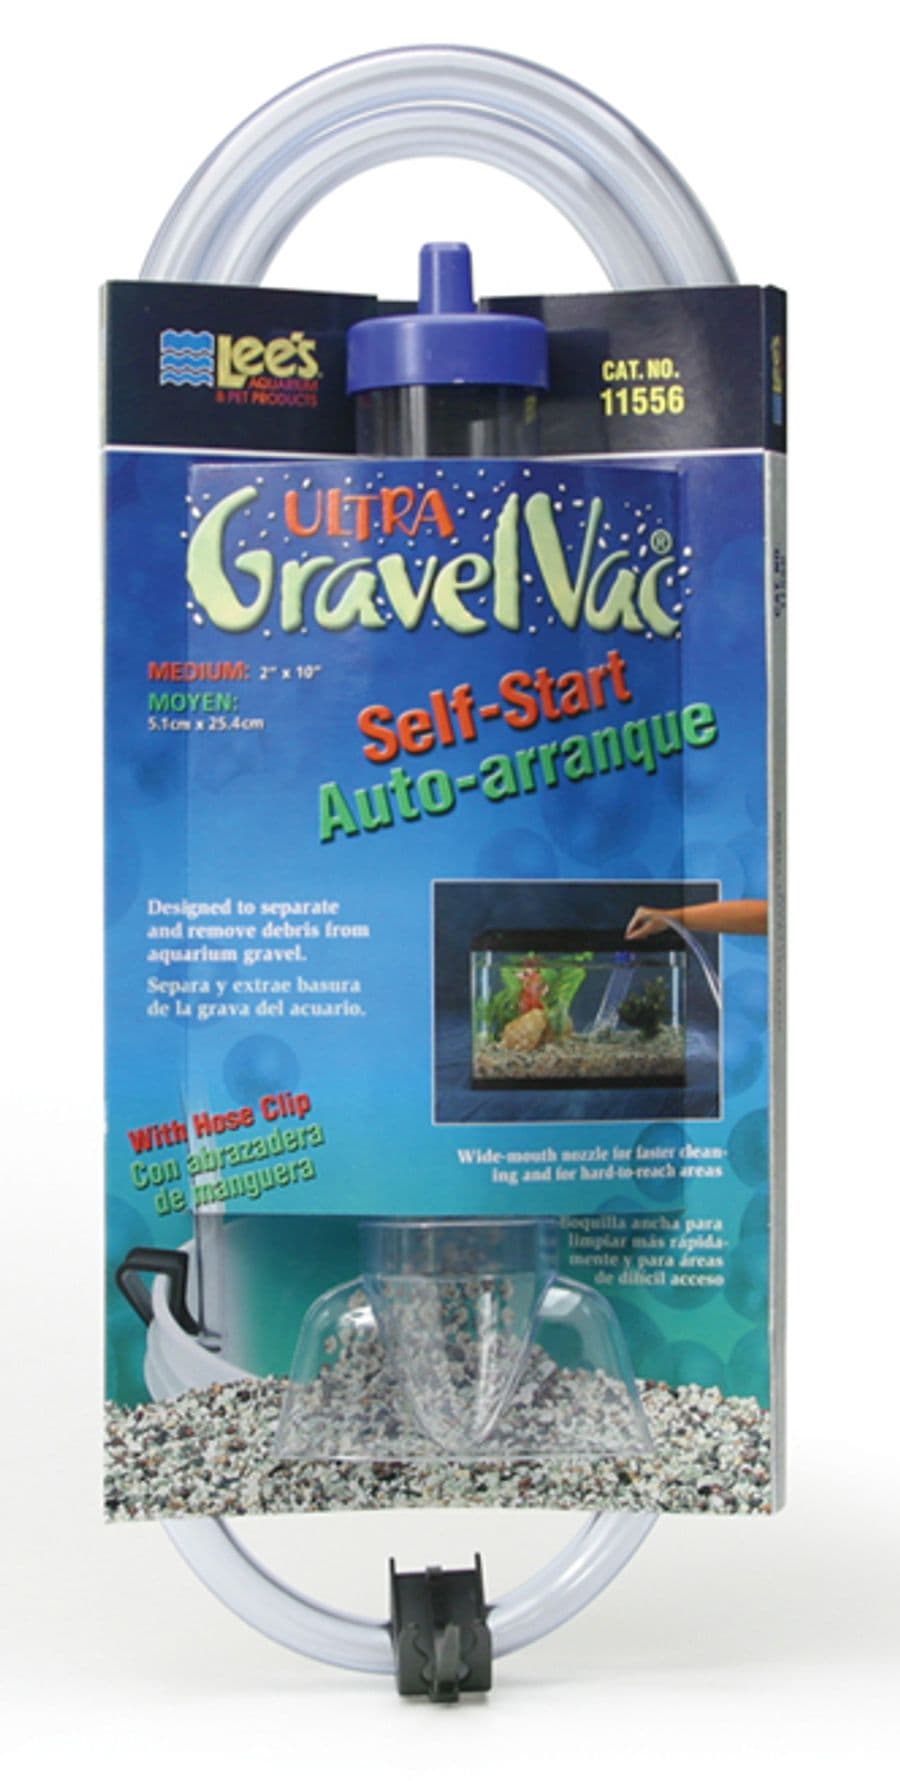
Here is the whole thing. One: unplug the heater if the water line will drop below it, so it never runs dry. Two: run a gravel vacuum through the substrate as you drain. This is where the real work happens, because most of the waste settles into the gravel rather than floating in the water. Work it across the bottom and let it pull the gunk out while it siphons into a bucket. Three: drain down to roughly the one-quarter line. Four: prepare the new water by matching its temperature to the tank, since cold tap straight in is a classic Erie winter mistake, and adding your conditioner to neutralize chlorine. Five: refill gently, plug the heater back in, and you are done.
For a bucket-and-siphon setup, a basic self-start gravel vacuum is all you need. For a bigger tank, or if you are tired of hauling buckets, a faucet-connected water changer drains and refills straight from the sink. If you are on Erie or Lake-Erie-sourced tap water, our Erie tap water guide covers which conditioner to use and why dechlorinating every single time matters.
Our pick
Lee's Ultra GravelVac Medium 2"x10"
A self-start gravel vacuum, the classic bucket-and-siphon water changer
Pump it up and down a few times to start the siphon, with no mouth-priming, then run it through the gravel to pull out waste as it drains into your bucket. The medium size fits most tanks, and a larger or smaller one just changes how fast it pulls.
See it in the shop
Our pick
Seachem Prime Water Conditioner
Concentrated conditioner that neutralizes chlorine and chloramine
Add it as you refill so the new water is safe before it reaches your fish or your filter bacteria, both of which chlorine harms. It is concentrated, so a small bottle treats a lot of water.
See it in the shop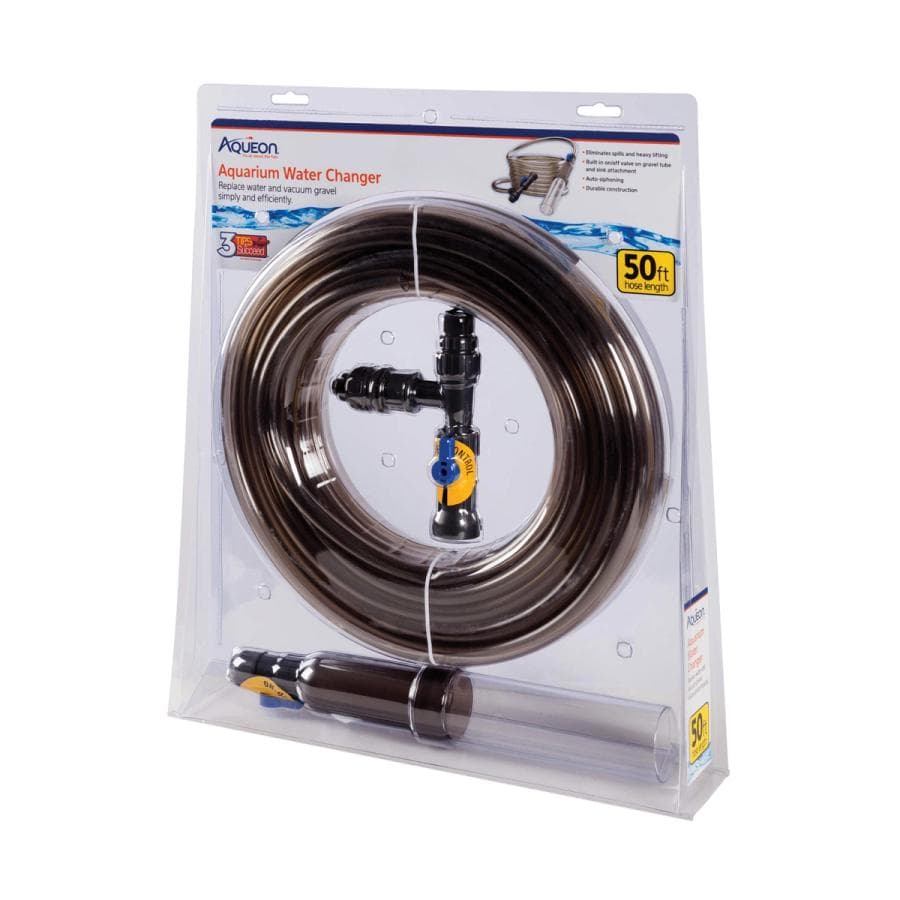
Our pick
Aqueon Water Changer (50 ft)
A hose-to-faucet changer that drains and refills from the sink, no buckets needed
For larger tanks, or anyone done carrying buckets, it hooks to a faucet and handles the draining and refilling for you. You still add conditioner as it fills, and the 50-foot hose reaches most rooms in the house.
See it in the shopSaltwater and reef: a few extra steps
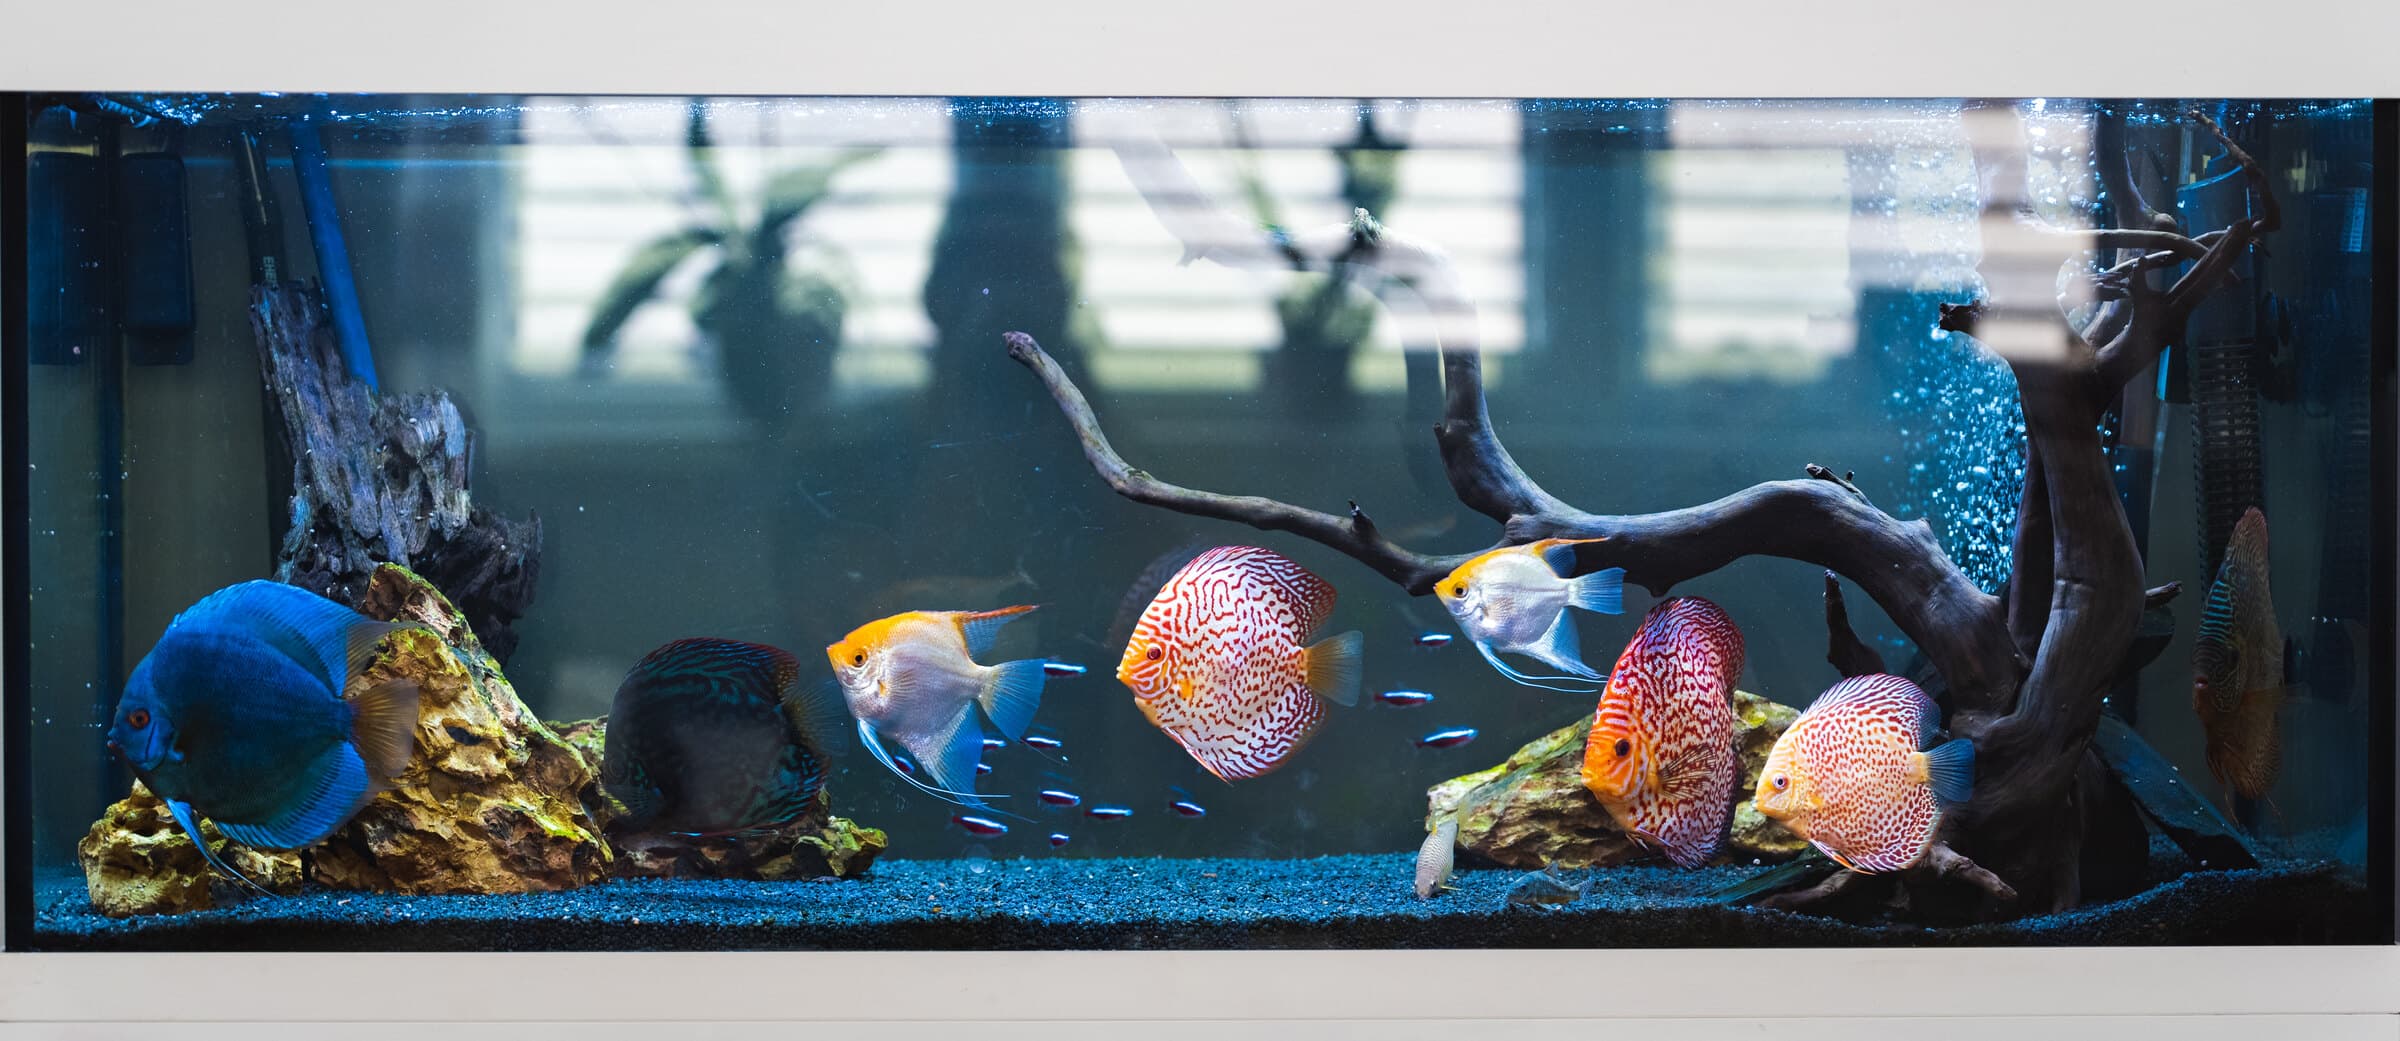
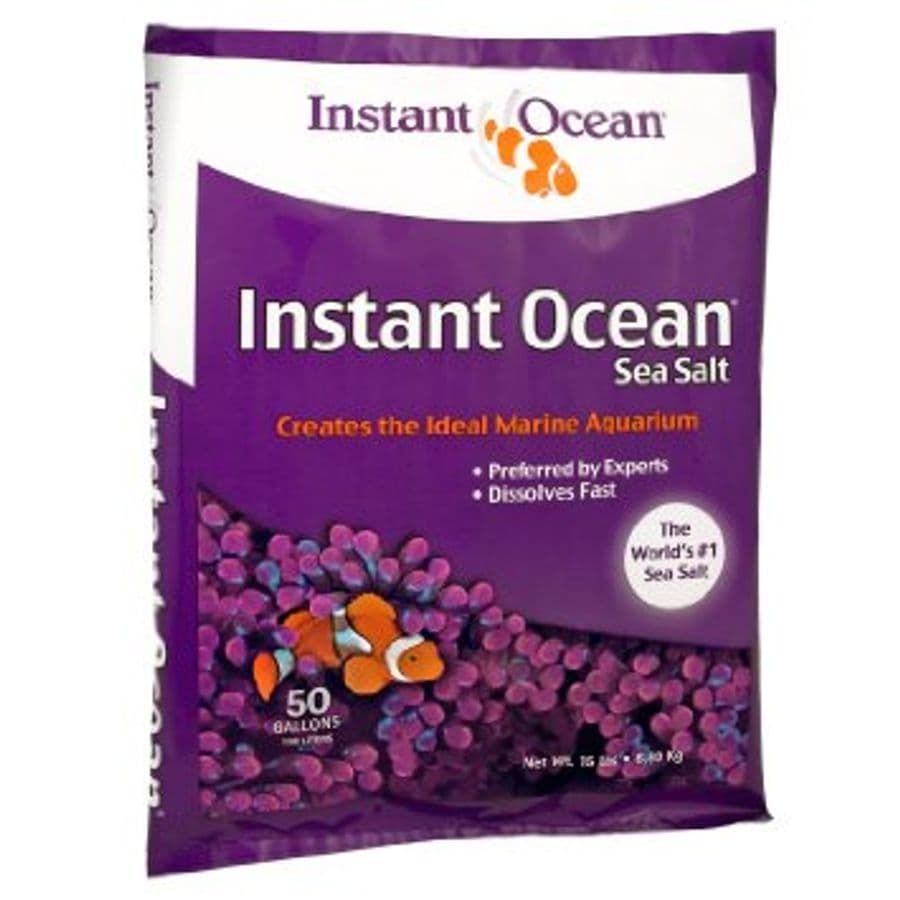
A saltwater water change follows the same logic with two real differences. First, you do not change with tap water. You change with saltwater you mix yourself from RO/DI water and a quality salt mix, because tap nutrients and metals feed algae and stress corals and invertebrates. Second, you match two things instead of one: temperature and salinity. Mix the new saltwater ahead of time, let it dissolve fully and come up to tank temperature, and confirm the salinity matches before it goes in.
Beyond that it is familiar. Siphon out the old water over the rock and sand, going easy on a deep sand bed so you do not dig it all up, and refill with your matched, mixed saltwater. Many reef keepers keep a tub of saltwater mixed and ready, which turns a change into a five-minute job. Our Erie tap water guide explains why RO/DI is the water the whole reef hobby runs on.
The mistakes that undo a good water change
A few avoidable mistakes cover almost every problem we hear about at the counter. Cold-water shock: never add water that is much colder or warmer than the tank, so match the temperature first, especially in an Erie winter. Forgetting the conditioner: untreated tap water poured into a stocked tank harms fish and can crash your filter bacteria. Over-cleaning: do not scrub or replace your filter media in tap water on water-change day, or you will wipe out the same bacteria you have spent weeks growing. Rinse media gently in old tank water rather than under the faucet. And the big one: skipping changes for weeks, then doing a huge 80 percent change to catch up. A massive sudden swing in chemistry stresses everything in the tank. Small and regular always beats big and rare. If algae is what brought you here, our algae guide covers using steady water changes as part of the fix.
Common questions
- How often should I do an aquarium water change?
For most tanks, roughly 25 percent of the volume once a week. Lightly-stocked or planted tanks can sometimes stretch to every two weeks, and heavily-stocked tanks may need more. Your nitrate test is the real guide: if it stays low and steady, your routine is keeping pace.
- How much water should I change at once?
Around 20 to 25 percent of the tank volume is the sweet spot, enough to keep nitrate down and small enough that it never shocks the tank. Avoid huge one-off changes to catch up, since small and regular is far safer than big and rare.
- Do I need to turn off my filter and heater during a water change?
Unplug the heater if the water level will drop below it so it does not run dry. You can leave the filter off briefly while the level is low, then restart it when you refill. Never clean your filter media in tap water; rinse it gently in old tank water so you do not kill the beneficial bacteria.
- Do I have to vacuum the gravel every time?
Vacuuming the gravel as you drain is where most of the benefit comes from, because that is where waste collects. Go gentler around the roots of a planted tank, and do not dig up a deep sand bed, but on a standard gravel tank, vacuum as you go.
- Is a saltwater water change different?
Same idea, with two extra steps. You change with saltwater you mix yourself from RO/DI water and a salt mix instead of tap water, and you match both temperature and salinity to the tank before adding it. Mixing a batch ahead of time keeps it quick.